Spoiler / ethics: for lab use only. Do not deploy this against real users or networks you don’t own or have explicit permission to test. Phishing is illegal and harmful outside of authorized environments.
TL;DR
- Create a sending profile (SMTP + credentials).
- Build a landing page (paste SET
index.html), add redirect to the real site. - Build the email template (paste 2-step verification HTML), enable “change links to landing page”.
- Create and launch a campaign (use attacker IP + listener port in URL).
- Monitor the campaign — captured creds and metadata appear in GoPhish.
Tools used
- GoPhish — phishing framework
- Social-Engineer Toolkit (SET) — landing-page and email templates
- A lab attacker VM (Kali) and isolated target VM/host
Full step-by-step
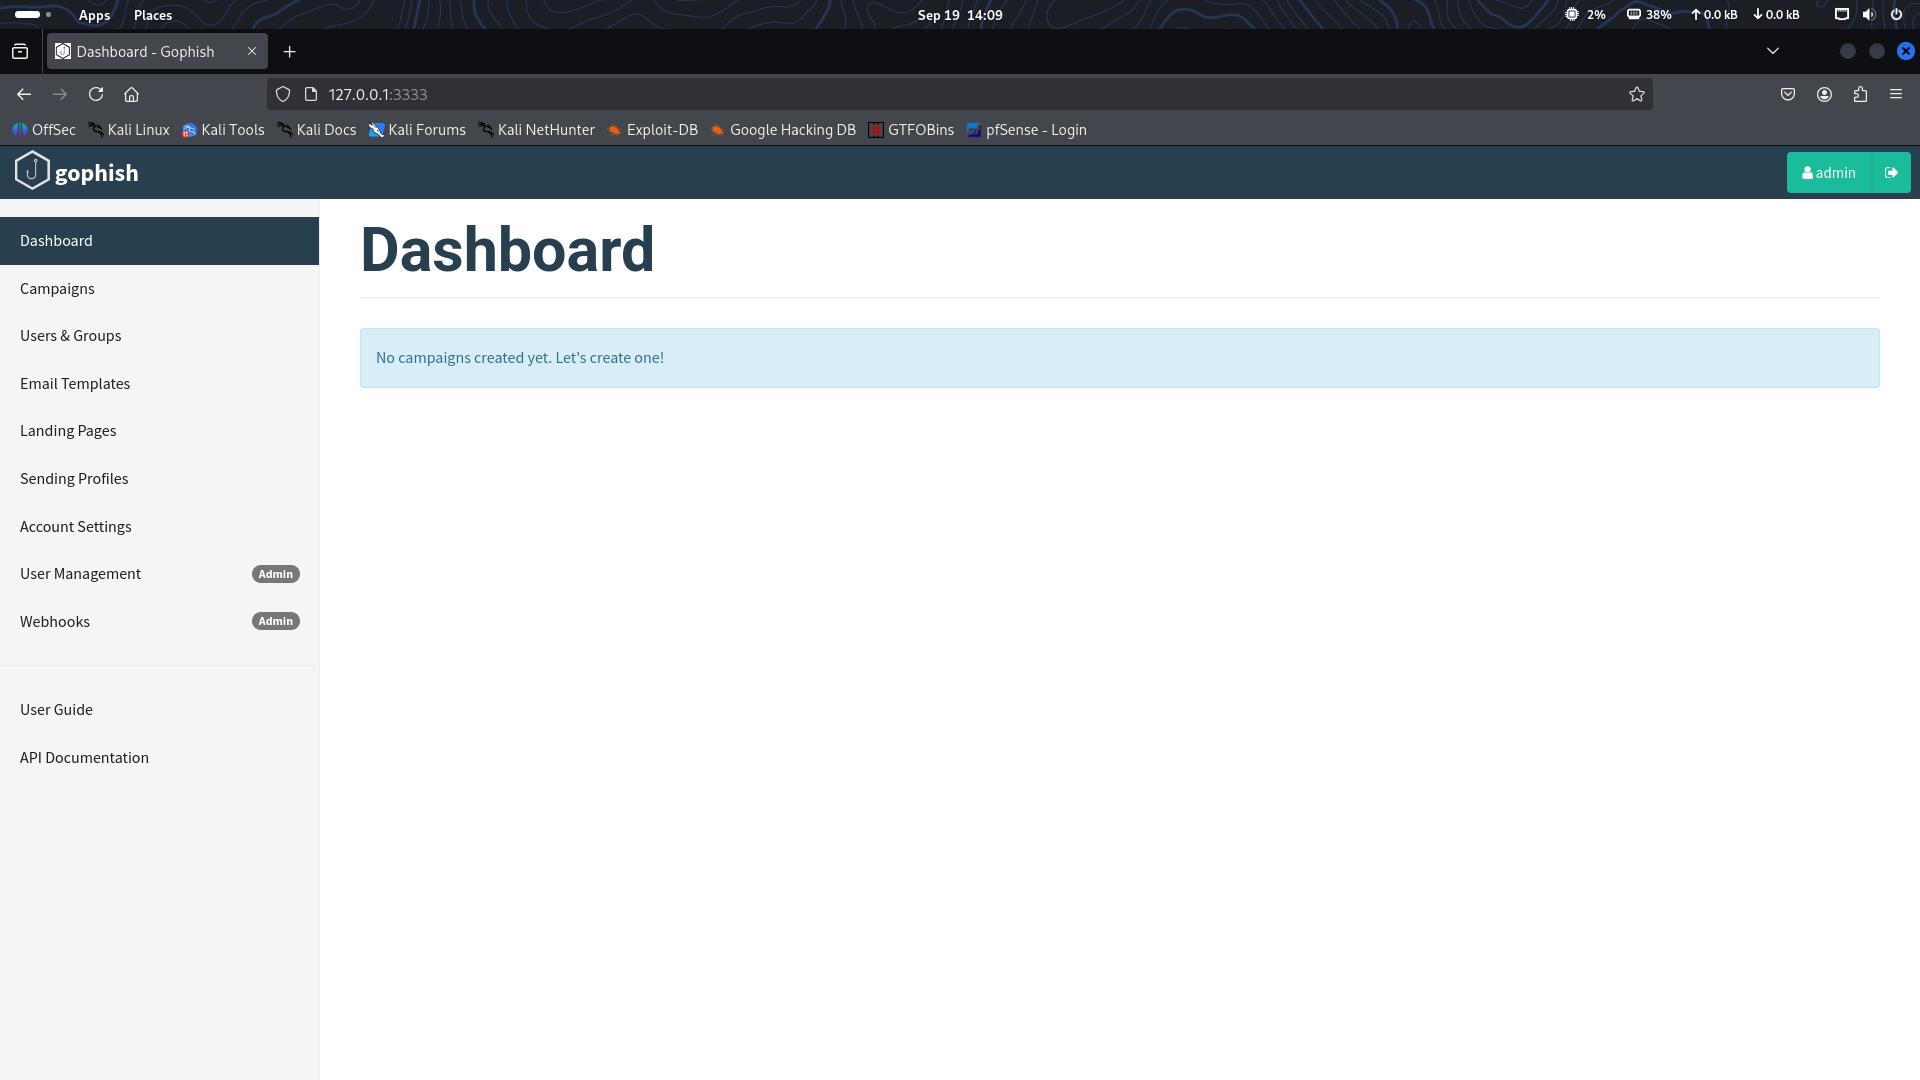
1. Start GoPhish
Open the GoPhish dashboard in your attacker VM (e.g. http://localhost:3333 or http://<ATTACKER_IP>:3333 depending on your setup).
2. Set up a Sending Profile
- Go to Sending Profiles → New Profile.
- SMTP server (example):
smtp.gmail.com:587. - Use a lab Gmail account and an app password or other valid SMTP credentials.
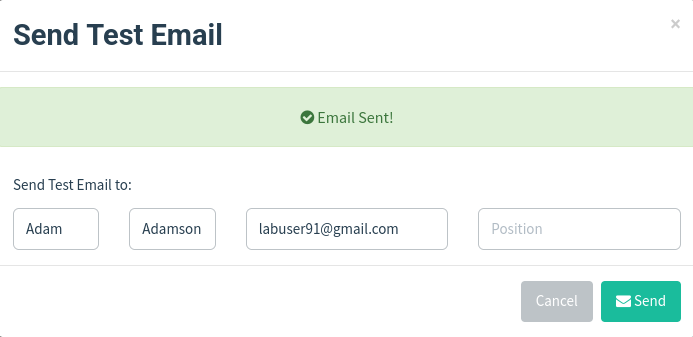
- Save and Send a test email to verify SMTP connectivity.
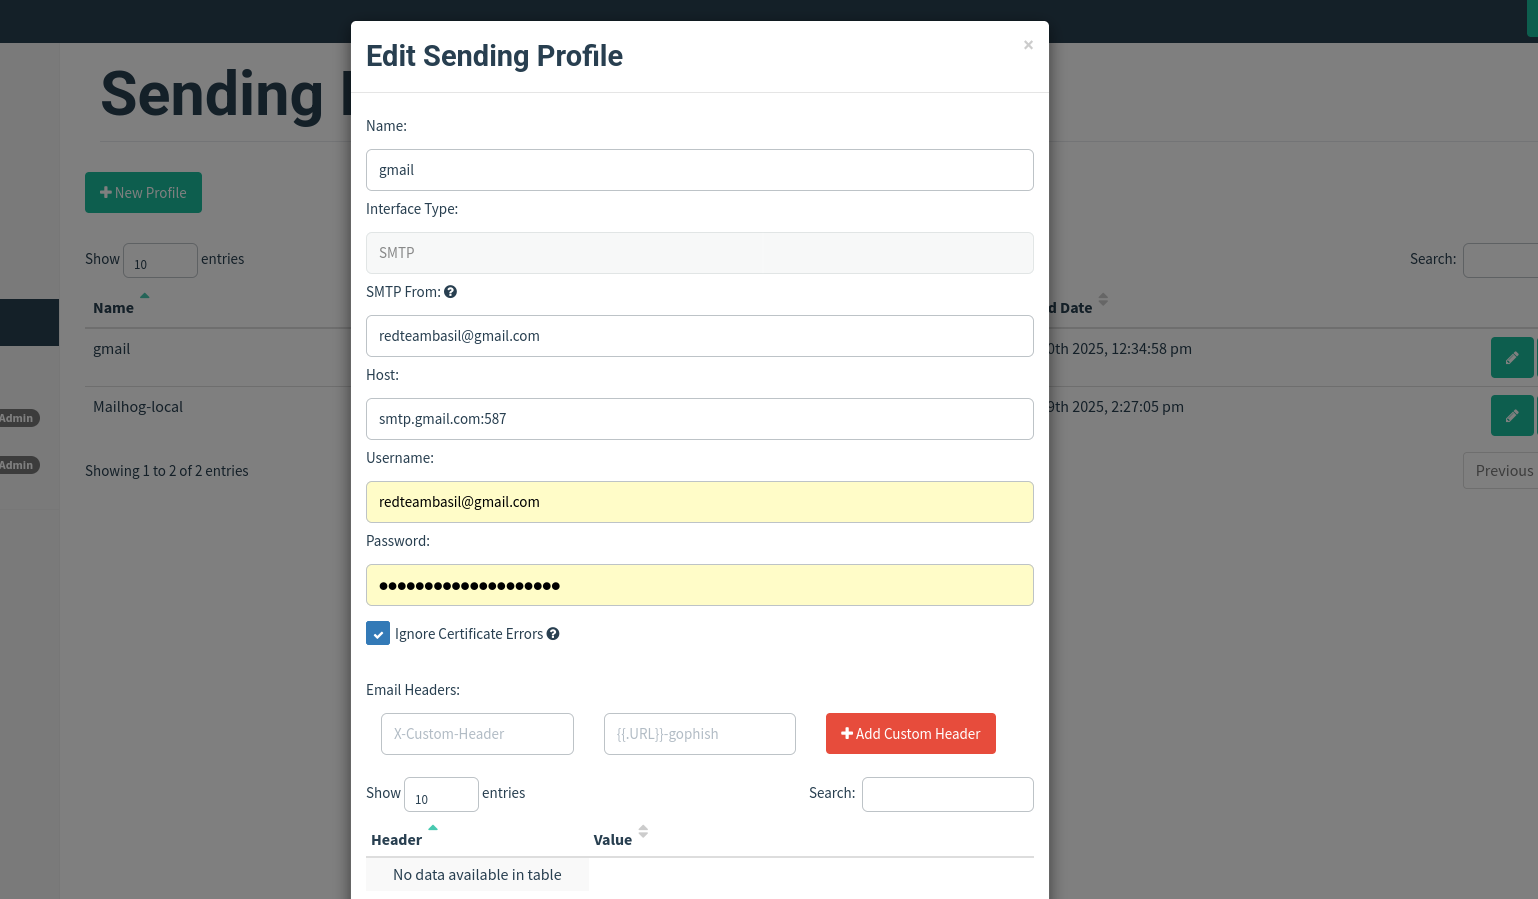
Tip: use a throwaway lab account and app passwords — keep credentials isolated to the lab.
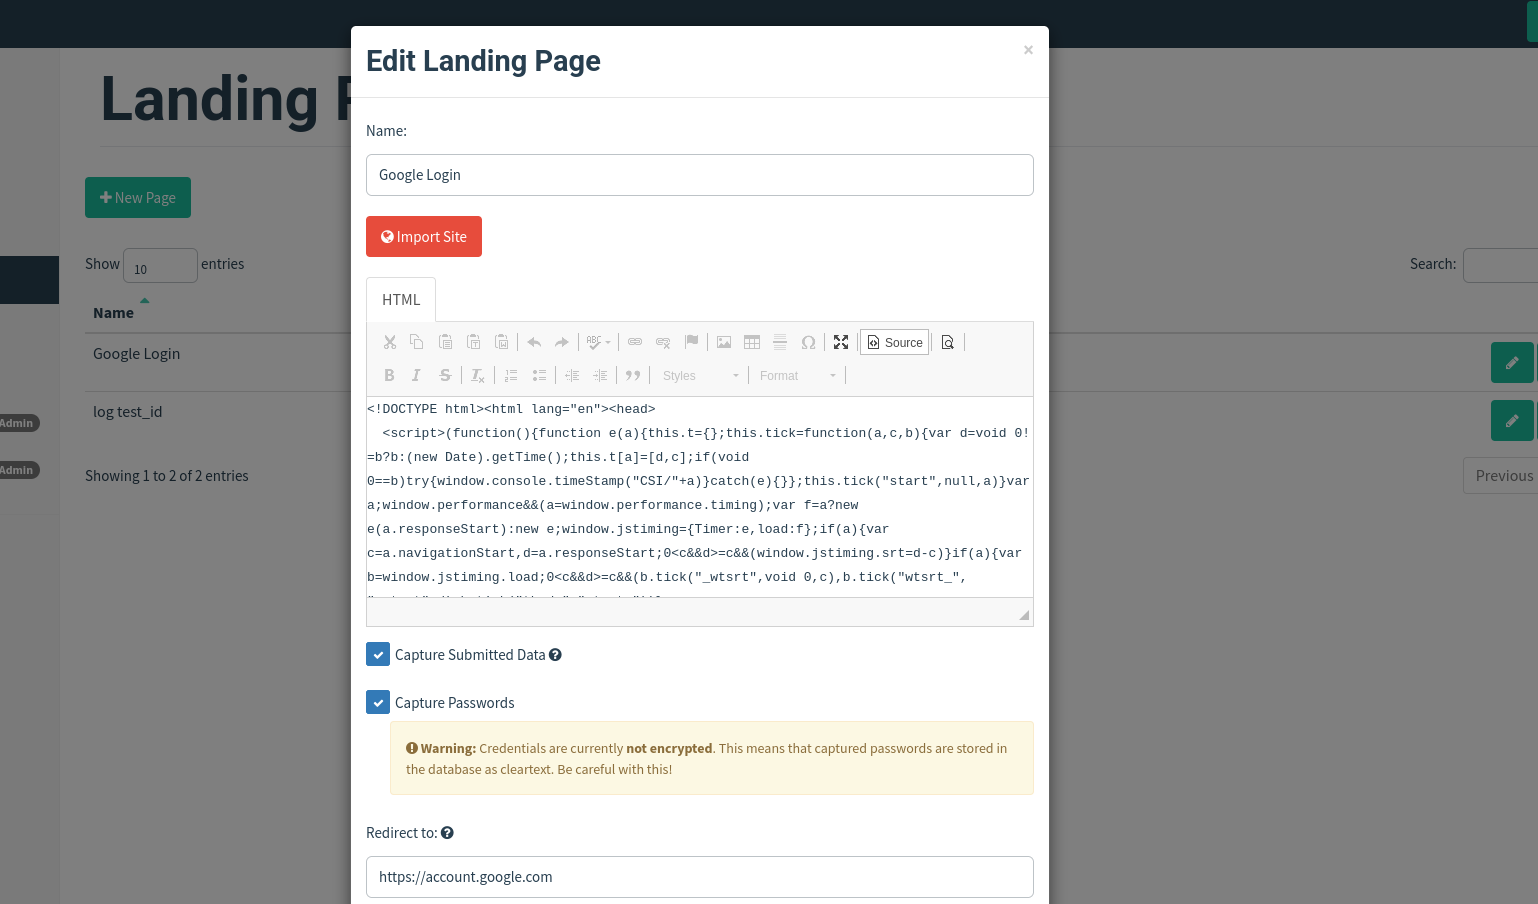
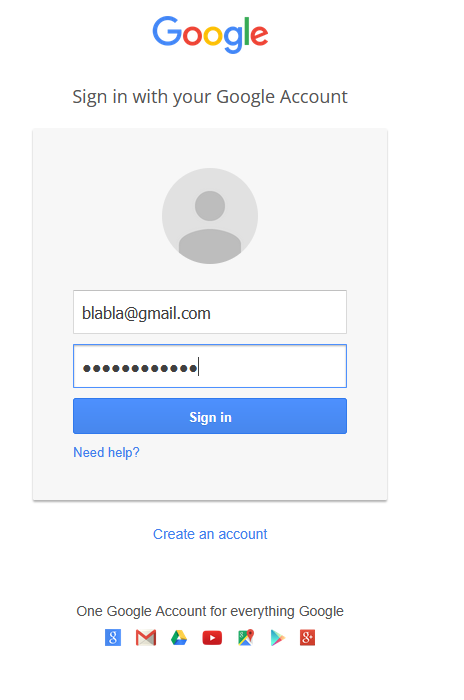
3. Create a Landing Page
- In GoPhish: Landing Pages → New Landing Page.
- Give it a name (e.g.
Google 2FA clone). - Paste the HTML template from SET into the landing page body.

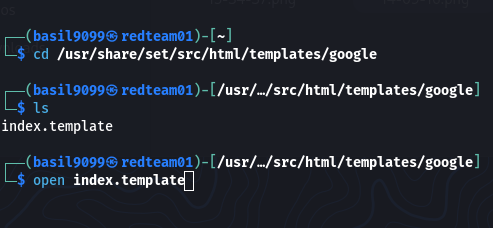
Typical SET path on Kali:
/usr/share/set/src/html/templates/google/index.html
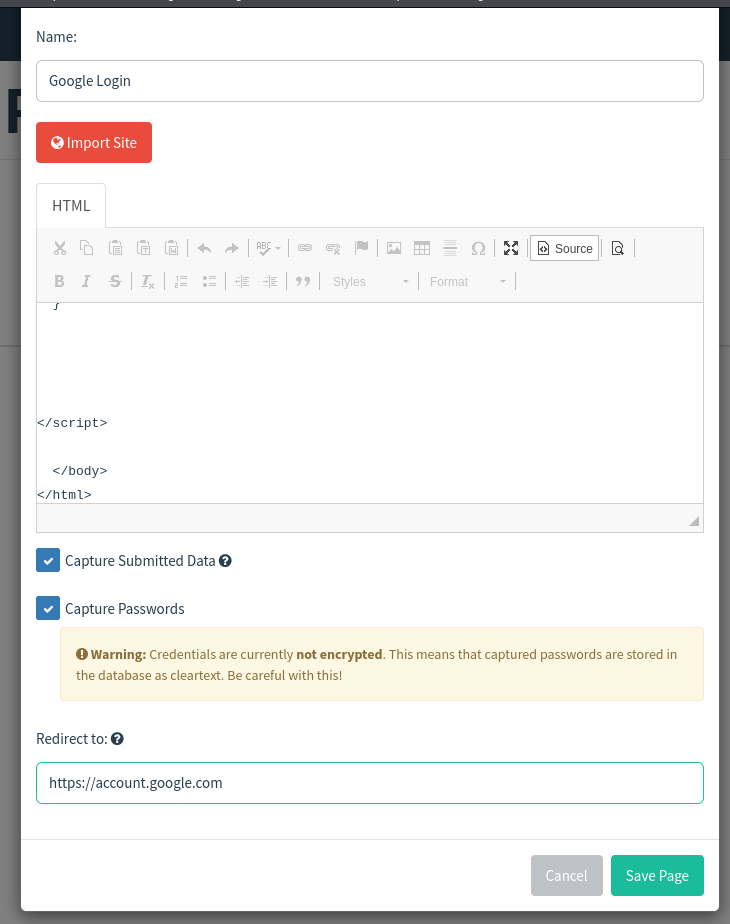
- Add a redirect to the real site after the form submits to keep the illusion intact. For example:
<script>
  // after capturing creds, redirect to the real Google site
  window.location = "https://account.google.com";
</script>
- Save the landing page.
4. Create the Email Template
- In GoPhish: Email Templates → New Template.
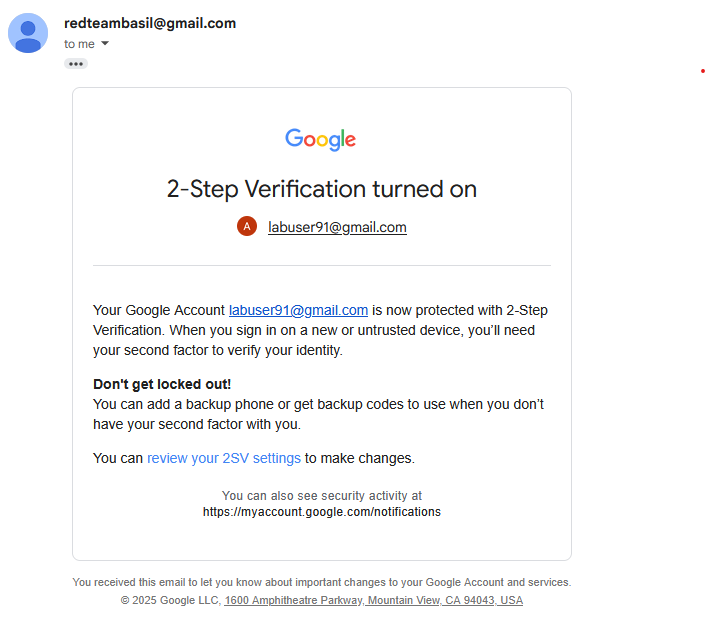
- Copy the 2-step verification (or similar) HTML source from SET and paste it into the email body.
- Tick “Change links to landing page” so GoPhish rewrites links to point at your hosted phishing page.
- Add a realistic subject line, e.g.
Action required: Confirm your 2-Step Verification. - Save the template.
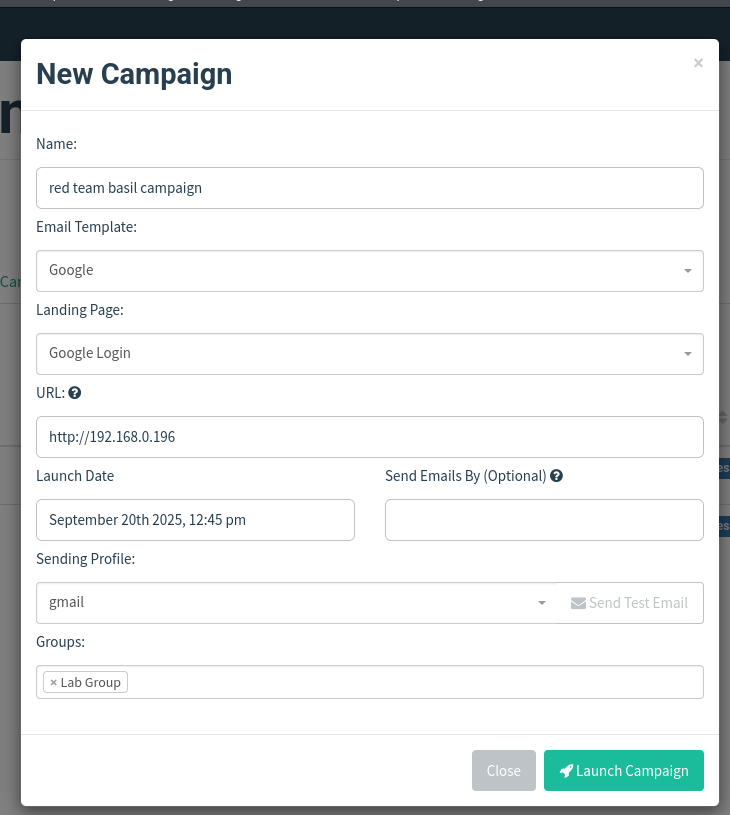
5. Create and Launch a Campaign
- Campaigns → New Campaign.
- Choose the Email Template and Landing Page you created.
- Add recipient addresses (lab addresses only).
- Important: For the campaign URL field, use your attacker machine’s IP and include the listener port if required. Example:
http://<ATTACKER_IP>:8080#
# e.g. http://192.168.56.101:8080#
- If you see errors, confirm the port is included. GoPhish commonly serves landing pages on ports such as 8080 or 3333.
- Launch the campaign.
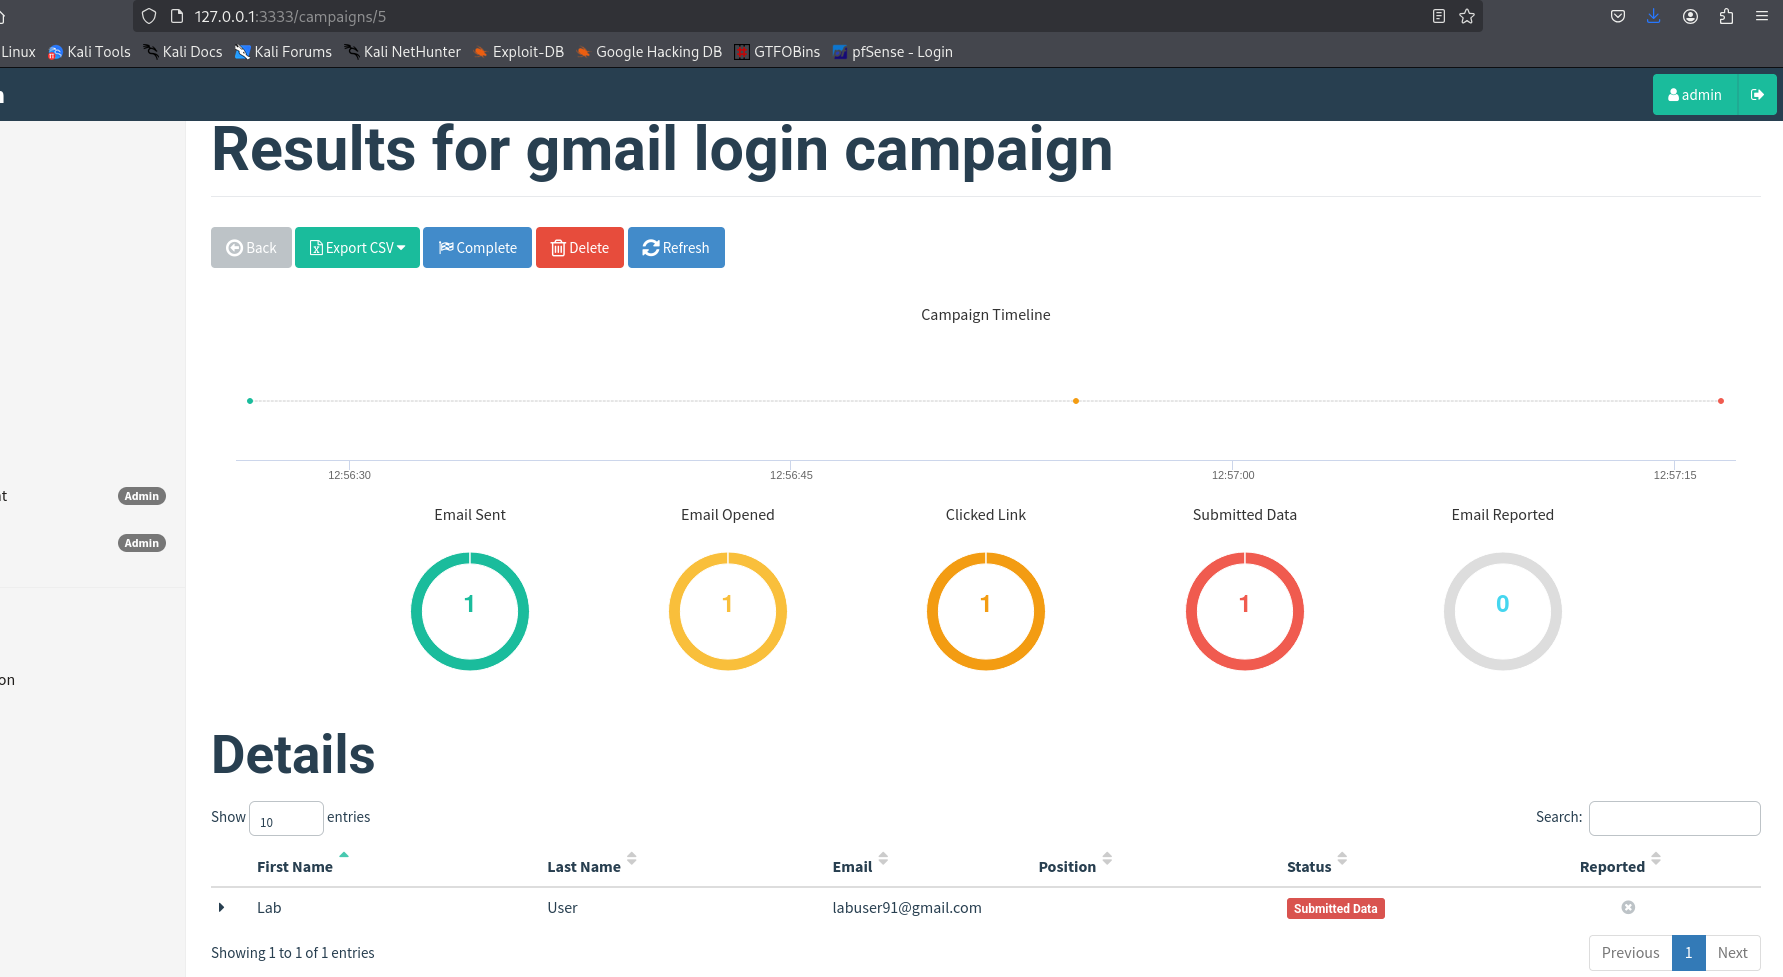
6. Test & Validate
Refresh the GoPhish campaign page — it should show the email as Sent.
From the target VM or another host, open the received email and click the phishing link.
Submit credentials on the landing page.
Confirm the browser address bar shows your attacker IP (this confirms redirection to your hosted page).
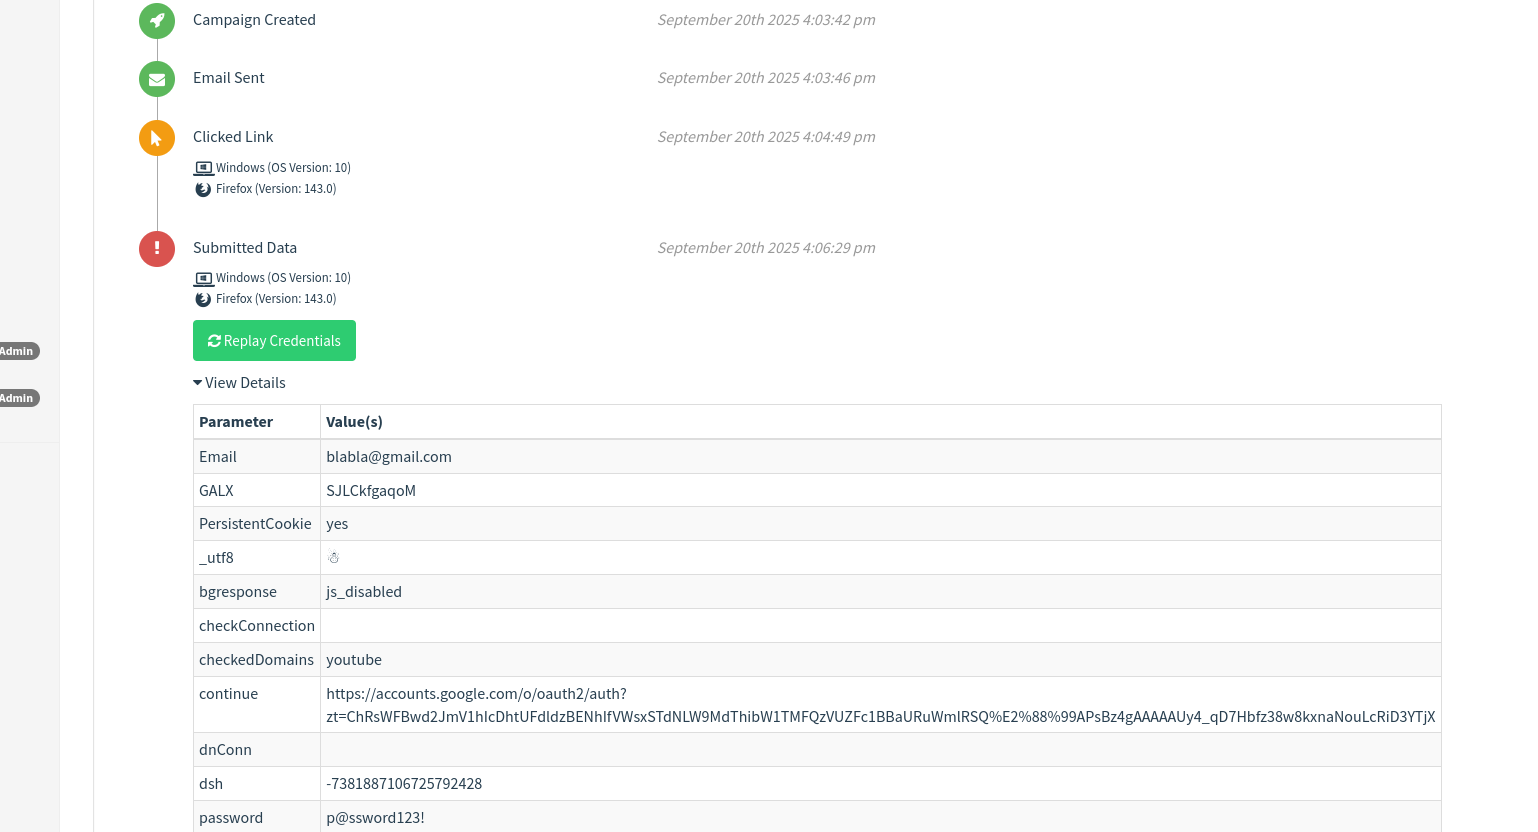
In GoPhish, open the campaign details and expand the drop-down — captured credentials and metadata (IP, user-agent, time) will be visible.
Troubleshooting
SMTP test fails
- Double-check username/password or app password.
- Ensure outbound firewall rules allow SMTP egress from the attacker VM.
Landing page not serving / 404
- Confirm the GoPhish listener port and include it in URLs (e.g.,
:8080).
- Confirm the GoPhish listener port and include it in URLs (e.g.,
Clicked link redirects to wrong page
- Verify that Change links to landing page was checked when importing the email.
No credentials captured
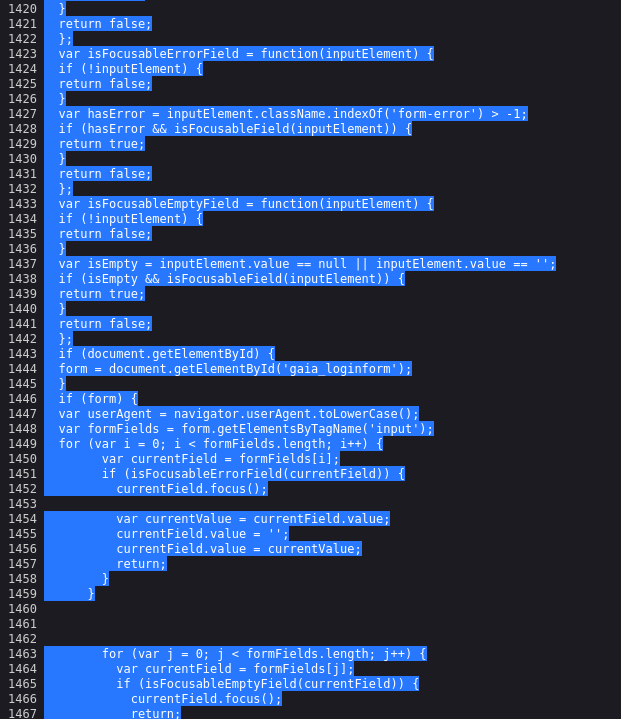
- Confirm the landing page form
actionposts to a handler GoPhish captures. The SET template typically includes compatible form handling. - Check GoPhish logs for server-side errors.
- Confirm the landing page form
Safety & operational notes
- Always use isolated lab networks (host-only or internal virtual networks) and throwaway accounts.
- Rotate and document lab credentials — never reuse real-world passwords.
- Keep every test contained and obtain written permission if demonstrating to others.
Useful snippets
SET landing page path
/usr/share/set/src/html/templates/google/index.html
Example campaign URL format
http://<ATTACKER_IP>:<PORT>#
# e.g. http://192.168.56.101:8080#
Example redirect snippet to add to landing page
<script>
  // after capturing creds, redirect to the real site
  window.location = "https://account.google.com";
</script>
Final checklist
- GoPhish dashboard running
- Sending profile created + test email sent
- Landing page created (SET HTML pasted)
- Redirect to real site added
- Email template created + “change links” ticked
- Campaign created (attacker IP + port in URL)
- Campaign launched
- Credentials verified in GoPhish campaign details
Resources
- GoPhish https://getgophish.com/
- Loi Liang Yang https://www.youtube.com/watch?v=dktthMkQF-Q
Ethics reminder: this guide is for lab learning only. Always obtain permission before testing real systems.